Every year I try to choose at least one handmade gift for the holidays. It’s something thoughtful, practical, and fun to make. This year, I decided to try melt-and-pour soap, and I’ll be honest… I thought it would be difficult.
But it wasn’t.
Not even a little.
It turned out to be one of the easiest DIYs I’ve ever done. It was also one of the most beautiful. The best part? My kids got to help.
We turned what was supposed to be a quick craft into an afternoon of conversation, creativity, and connection. There’s something about working with your hands together. It naturally opens the door for meaningful talks. We talked about school and about friends. We also discussed things they’re excited or worried about. Soap-making became the sweetest slow-down moment in our week.
And now we get to gift these gorgeous little bars to teachers, neighbors, and family members. Win-win.
If you want to try it too, here’s everything you need — plus the step-by-step process, tips for using dried flowers (because they can be tricky!), and some Pinterest ideas you can use if you plan to share your creations online.
Here’s my Amazon list with all the supplies I used:
https://www.amazon.com/shop/christia__deshields/list/1EF7CZU5RQO7C?ref_=aipsflist
Why Melt & Pour Soap Is Perfect for Holiday Gifting
Melt-and-pour soap is beginner-friendly, fast, and versatile. No lye. No special equipment. No complicated chemistry. Just melt, customize, and pour.
It’s perfect for holiday gifts because:
- You can make dozens of bars in one afternoon.
- Kids can safely help with many steps.
- You can personalize every bar with scent, color, dried flowers, or additives.
- Handmade gifts feel intentional and special (and people ALWAYS love pretty soap).
- It becomes a sweet bonding activity. This is especially true during the holiday rush. Slowing down with your kids matters even more during this time.

Skin Benefits of Turmeric & Activated Charcoal
If you want your handmade soaps to have a little extra purpose, turmeric and charcoal are fantastic natural additions. They’re safe, easy to use, and turn ordinary soap into a more skin-friendly treat.
Benefits of Turmeric in Soap
- Brightening: Turmeric may help even skin tone and soften the appearance of dark spots.
- Anti-inflammatory: Helps calm redness and irritation—great for sensitive or reactive skin.
- Antibacterial: Can support clearer skin by reducing acne-causing bacteria.
- Warm golden color: Gives your soap a natural golden glow without synthetic dyes.
Benefits of Activated Charcoal in Soap
- Deep cleansing: Charcoal acts like a magnet for dirt, oil, and impurities.
- Oil-balancing: Ideal for oily or combination skin, helping reduce shine.
- Pore detox: Helps unclog pores and remove blackheads.
- Striking appearance: Creates a dramatic black or gray soap that looks artisanal and modern.
A quick note: Both ingredients are natural but active, so it’s wise to patch-test new soaps—especially for kids or people with very sensitive skin.
What You’ll Need (Beginner-Friendly Supplies)
All of these items are linked in my Amazon list for convenience:
👉 Shop all my soapmaking supplies here:
https://www.amazon.com/shop/christia__deshields/list/1EF7CZU5RQO7C?ref_=aipsflist
- Melt-and-pour soap base (glycerin, shea butter, or goat milk)
- Silicone soap molds
- Microwave-safe measuring cup or double boiler
- Soap colorants (micas or liquid soap dyes)
- Fragrance or essential oils (skin-safe)
- Dried flowers (more on these below!)
- Rubbing alcohol in a spray bottle
- Small whisk or spoon
- Optional: oatmeal, poppy seeds, cosmetic glitter, or clay
- Packaging: cello bags, ribbon, twine, tags, kraft paper
A Note About Dried Flowers (So They Stay Pretty!)
I LOVE adding dried flowers to soap — they instantly make each bar look handcrafted and luxurious. But here’s the tricky part: most dried flowers eventually discolor inside melt-and-pour soap, especially when fully submerged.
Here’s what I’ve learned:
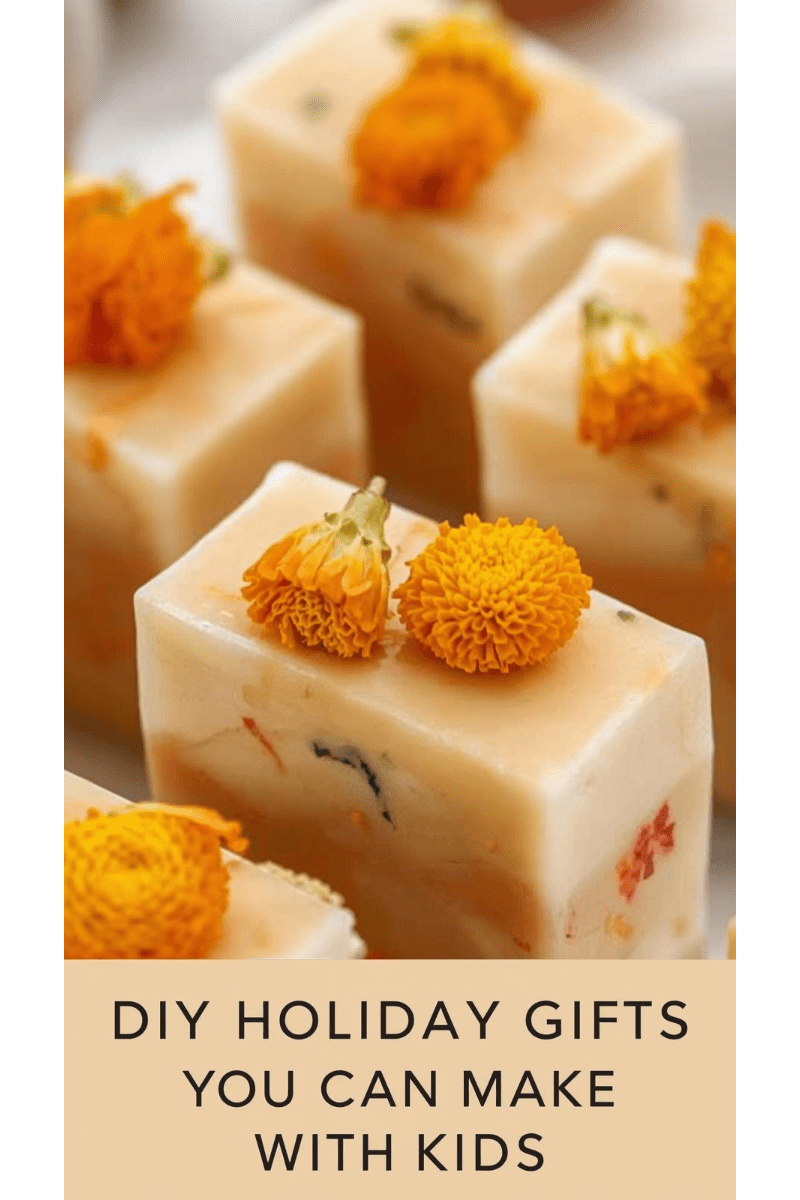
🌼 Calendula is the superstar
Calendula petals hold their yellow-orange color beautifully. They’re the most reliable option for embedding or topping soap without browning.

🌸 Delicate flowers need a different approach
Roses, lavender, and other delicate botanicals can turn brown if they’re mixed into the hot soap. Instead:
- Pour a thin layer first
- Let it cool until slightly tacky
- Then lightly press the petals on top
- Finish pouring once the layer has set
OR - Press petals onto the surface after the bar has hardened a bit
This keeps them from discoloring as quickly and still looks gorgeous.
Step-by-Step: How to Make Melt & Pour Soap (Kid-Friendly!)
1. Prep Your Space
Lay out your molds, dried flowers, and supplies. Kids love choosing the scents and colors, so let them help pick the “recipe.”
2. Cut and Melt the Soap Base
Cut the soap base into small cubes so it melts evenly.
Microwave in 20–30 second intervals, stirring between each one, until smooth.
(Older kids can help stir — with supervision!)
3. Add Color and Fragrance
Stir in your colorant and fragrance. Start small — a little goes a long way.
This is a fun moment to let kids pick colors and name their “creations.” Another natural moment for conversation and connection.
4. Pour a Thin Layer (for flower designs)
If using dried flowers, pour a small amount of soap into the mold and let it set for 5–10 minutes until it’s tacky.
5. Add Your Dried Flowers
Press calendula petals into the tacky layer or place delicate petals lightly on top.
Kids love this step — it’s basically decorating.
6. Pour the Rest of the Soap
Fill each mold to the top.
Spray lightly with rubbing alcohol to remove any bubbles.
7. Let It Set
Allow the soap to firm up for 1–2 hours.
Then pop them out of the molds and admire how beautiful they turned out.

8. Package and Gift
Wrap with kraft paper, tuck into a cello bag, or tie a small ribbon around each bar.
Let your kids help write the gift tags — it makes each gift extra meaningful.
Why This Makes Such a Great Parent–Child Activity
Holiday schedules get busy fast. Melt-and-pour soap gives you an excuse to slow down, sit together, and create something beautiful.
While your hands are busy, conversations start flowing naturally:
- How their week is going
- What they’re excited about
- What’s on their mind
- Who they want to gift their soaps to
It becomes less about the craft and more about the connection.
And when they see the finished soaps — something they made and can be proud of — their excitement is priceless.

🍊 DIY Turmeric Melt-and-Pour Soap
Brightening • Warm • Kid-Friendly
Ingredients:
- 1 lb melt-and-pour soap base
- 1–2 tsp turmeric powder
- Optional: 10–15 drops of essential oil (lavender, sweet orange, or tea tree)
- Optional: dried calendula petals or oatmeal
Instructions:
- Melt your soap base.
- Stir in turmeric until evenly blended (a little goes a long way).
- Add essential oils or botanicals if you like.
- Pour into molds, letting kids decorate the tops with petals.
- Let harden completely.
Tip: Using a goat-milk base gives a beautiful creamy golden color.
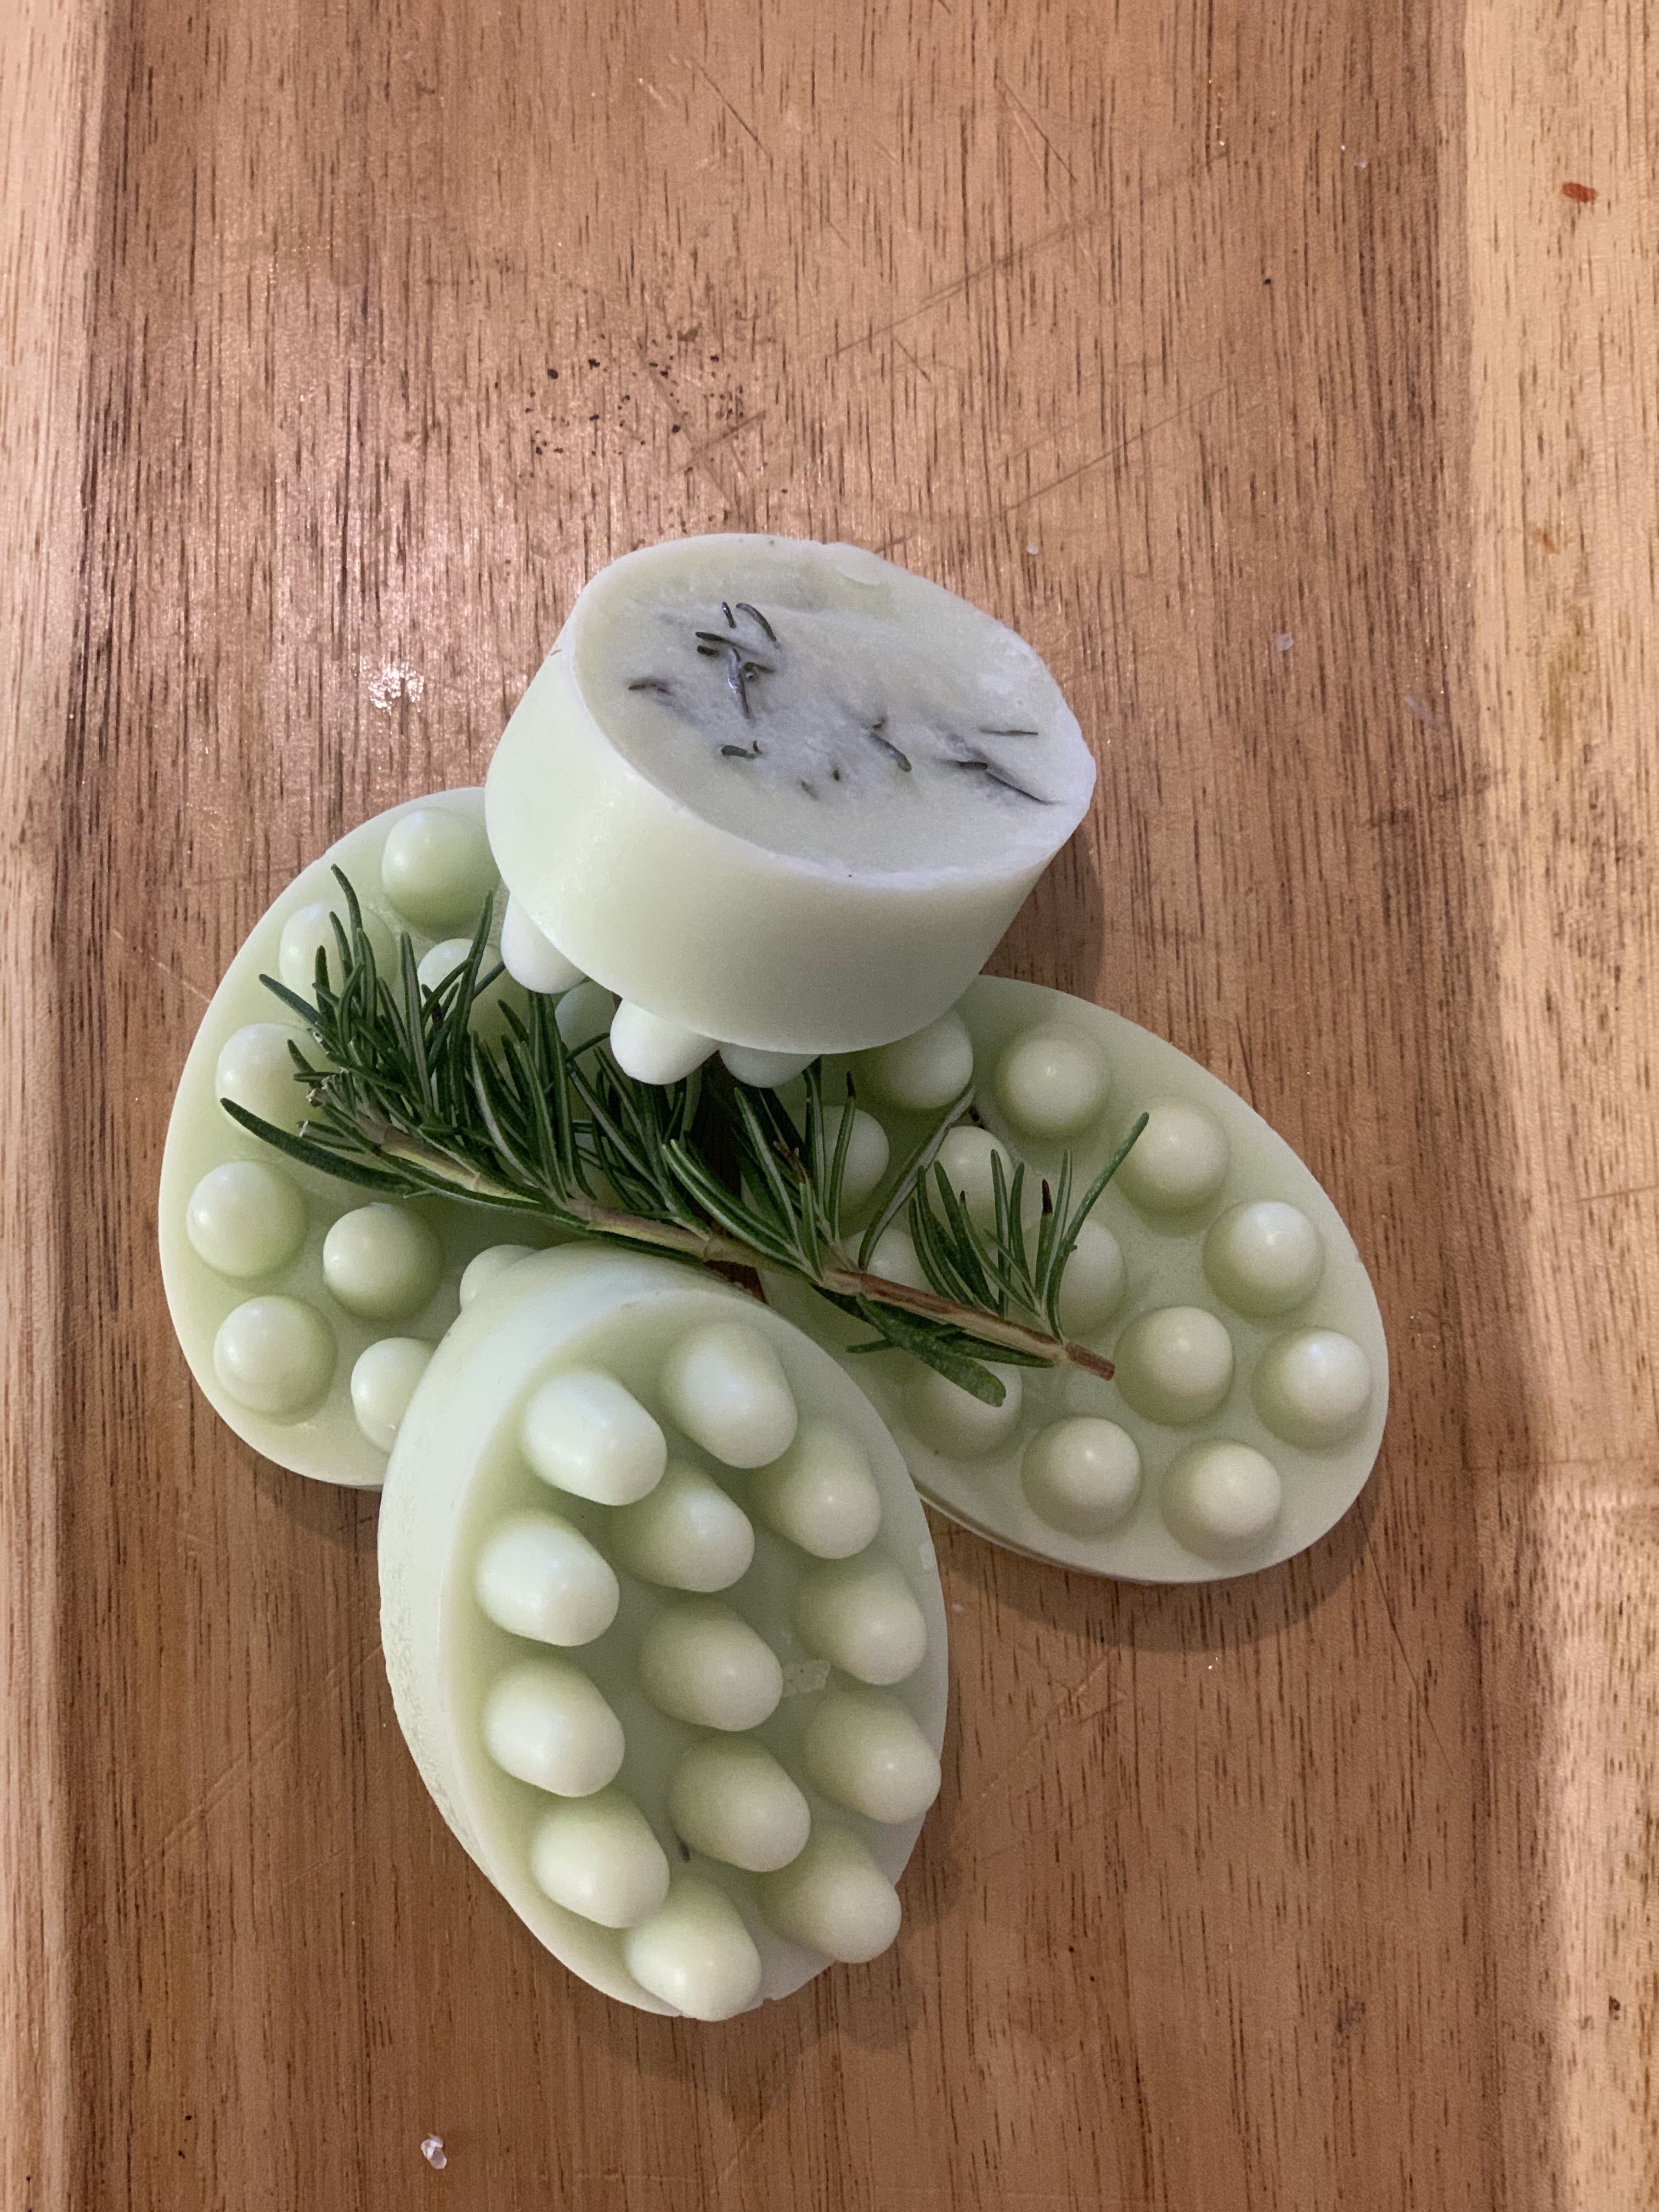
🖤 DIY Activated Charcoal Soap
Purifying • Deep-Cleansing • Minimalist Style
Ingredients:
- 1 lb melt-and-pour soap base
- 1–2 tsp activated charcoal powder
- Optional: 10–15 drops of essential oil (tea tree, peppermint, eucalyptus)
- Optional: a tiny pinch of turmeric to create a swirl effect
Instructions:
- Melt your soap base.
- Mix in the charcoal thoroughly—charcoal settles quickly, so stir well.
- Add essential oils if using.
- Pour into molds.
- Let harden fully before unmolding.
For a fun project with kids, try swirling charcoal soap into a turmeric base for a marbled effect!
Disclosure: This post contains affiliate links. As an Amazon Associate, I earn a small commission from qualifying purchases — at no extra cost to you. Thank you for supporting my work!

Leave a reply to 5 Easy Handmade Christmas Gifts Kids Can Make This Weekend – Christia DeShields Cancel reply